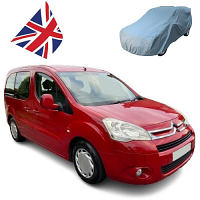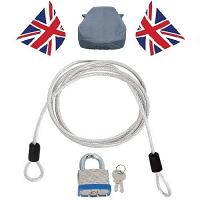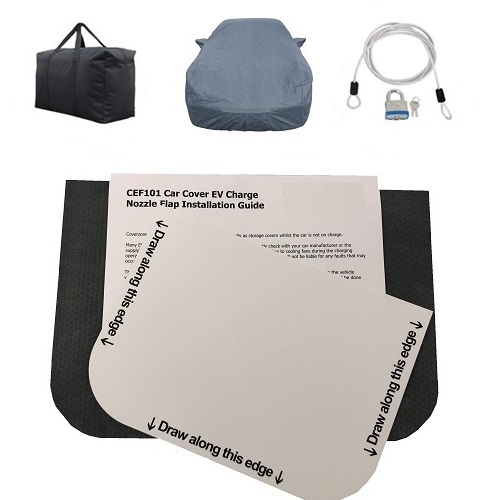
Our EV Charge Nozzle Flap kit creates a permanent solution for charging you Electric Car with the cover fitted. This is a simple DIY kit and includes full instructions for fitment. Will require cutting of the cover.
Our car covers are designed for your EV primarily as storage covers whilst the car is not on charge. Many EV’s can be charged with the cover fitted but you should firstly check with your car manufacturer or the supplying dealer to ensure that the use of a cover does not impede airflow to cooling fans during the charging operation. Always adhere to the dealer’s advice as We will not be liable for any faults that may occur through overheating or any other charge related issues. This kit creates a permanent charge nozzle flap in your cover allowing the cover to be fully fitted to the vehicle whilst the charger nozzle is connected. The cover should be completely dry and if possible fitment should be done on a dry and warm day.
Having checked with your dealer that your car can be charged whilst covered, start by fitting the cover and installing the underbody straps. Once the cover is fitted, locate the charging point cover.
Position the card template supplied in the kit in the position that will be most suitable for easy charging taking into account that your vehicle charge flap on your car may hinge upwards or sideways. Best results will be achieved by installing the flap kit so the flap hinges upwards allowing rainwater to drain outside the cover. Once you are happy with the position chosen, draw around the card template as indicated with a marker pen or similar.
Now remove the cover from the car and locate the position marked. Carefully cut along the line marked with a very sharp craft knife or sharp scissors. The cover can now be refitted on the car. Once the cover is refitted and the straps are connected and adjusted, locate the slot that you have cut in the cover and ensure that your charge nozzle fits easily through the cover.
Now remove the adhesive backing from the fabric patch that is supplied in the kit. Lift the flap on the cover and fold it back on itself. Position the patch with adhesive uppermost in the hole over the charge point so that it is completely covered. Release the flap and thoroughly seal the two surfaces together. The flap should be on the outside surface of the car cover. Finally remove the backing from the 2 Velcro tabs and press firmly into position.
Always check with your vehicle dealership that your car can be charged whilst covered. For safe removal of the cover always disconnect and remove the charge nozzle prior to uncovering the vehicle.

